
 With the drought going strong, this rainy weekend has been a blast and a blessing. But what to do with 4 kids who are so used to playing outside every single day? Make something everyone can help with!
I’ve been wanting to make something for Atticus for a while, now. When you are 5th in line of 4 living kids, you get a LOT of used stuff, and few things you can call your own. Not that this is a terrible thing. It’s more that I have made so many fun toys for my other kids, and Atticus has yet to receive a single one! I have several wine crates I picked up at Costco one year and have used them for garage storage for several years, and one day I took one down for Judah’s American Boy dolls to sleep in while he earned his Ikea doll bed. With the doll bed earned, the wine crate hung around, used as a a place for sitting and reading, a crate for hauling junk around the house, and a stepping stool. And then it hit me: A WAGON FOR ATTICUS!!! Becuase we really need another wagon in this house.
So I stopped at Home Depot on my way home from teaching one day and bought some wheels, nuts, washers, and bolts. The project has been sitting around since then just waiting for the proper moment for assembly. Today that moment arrived.
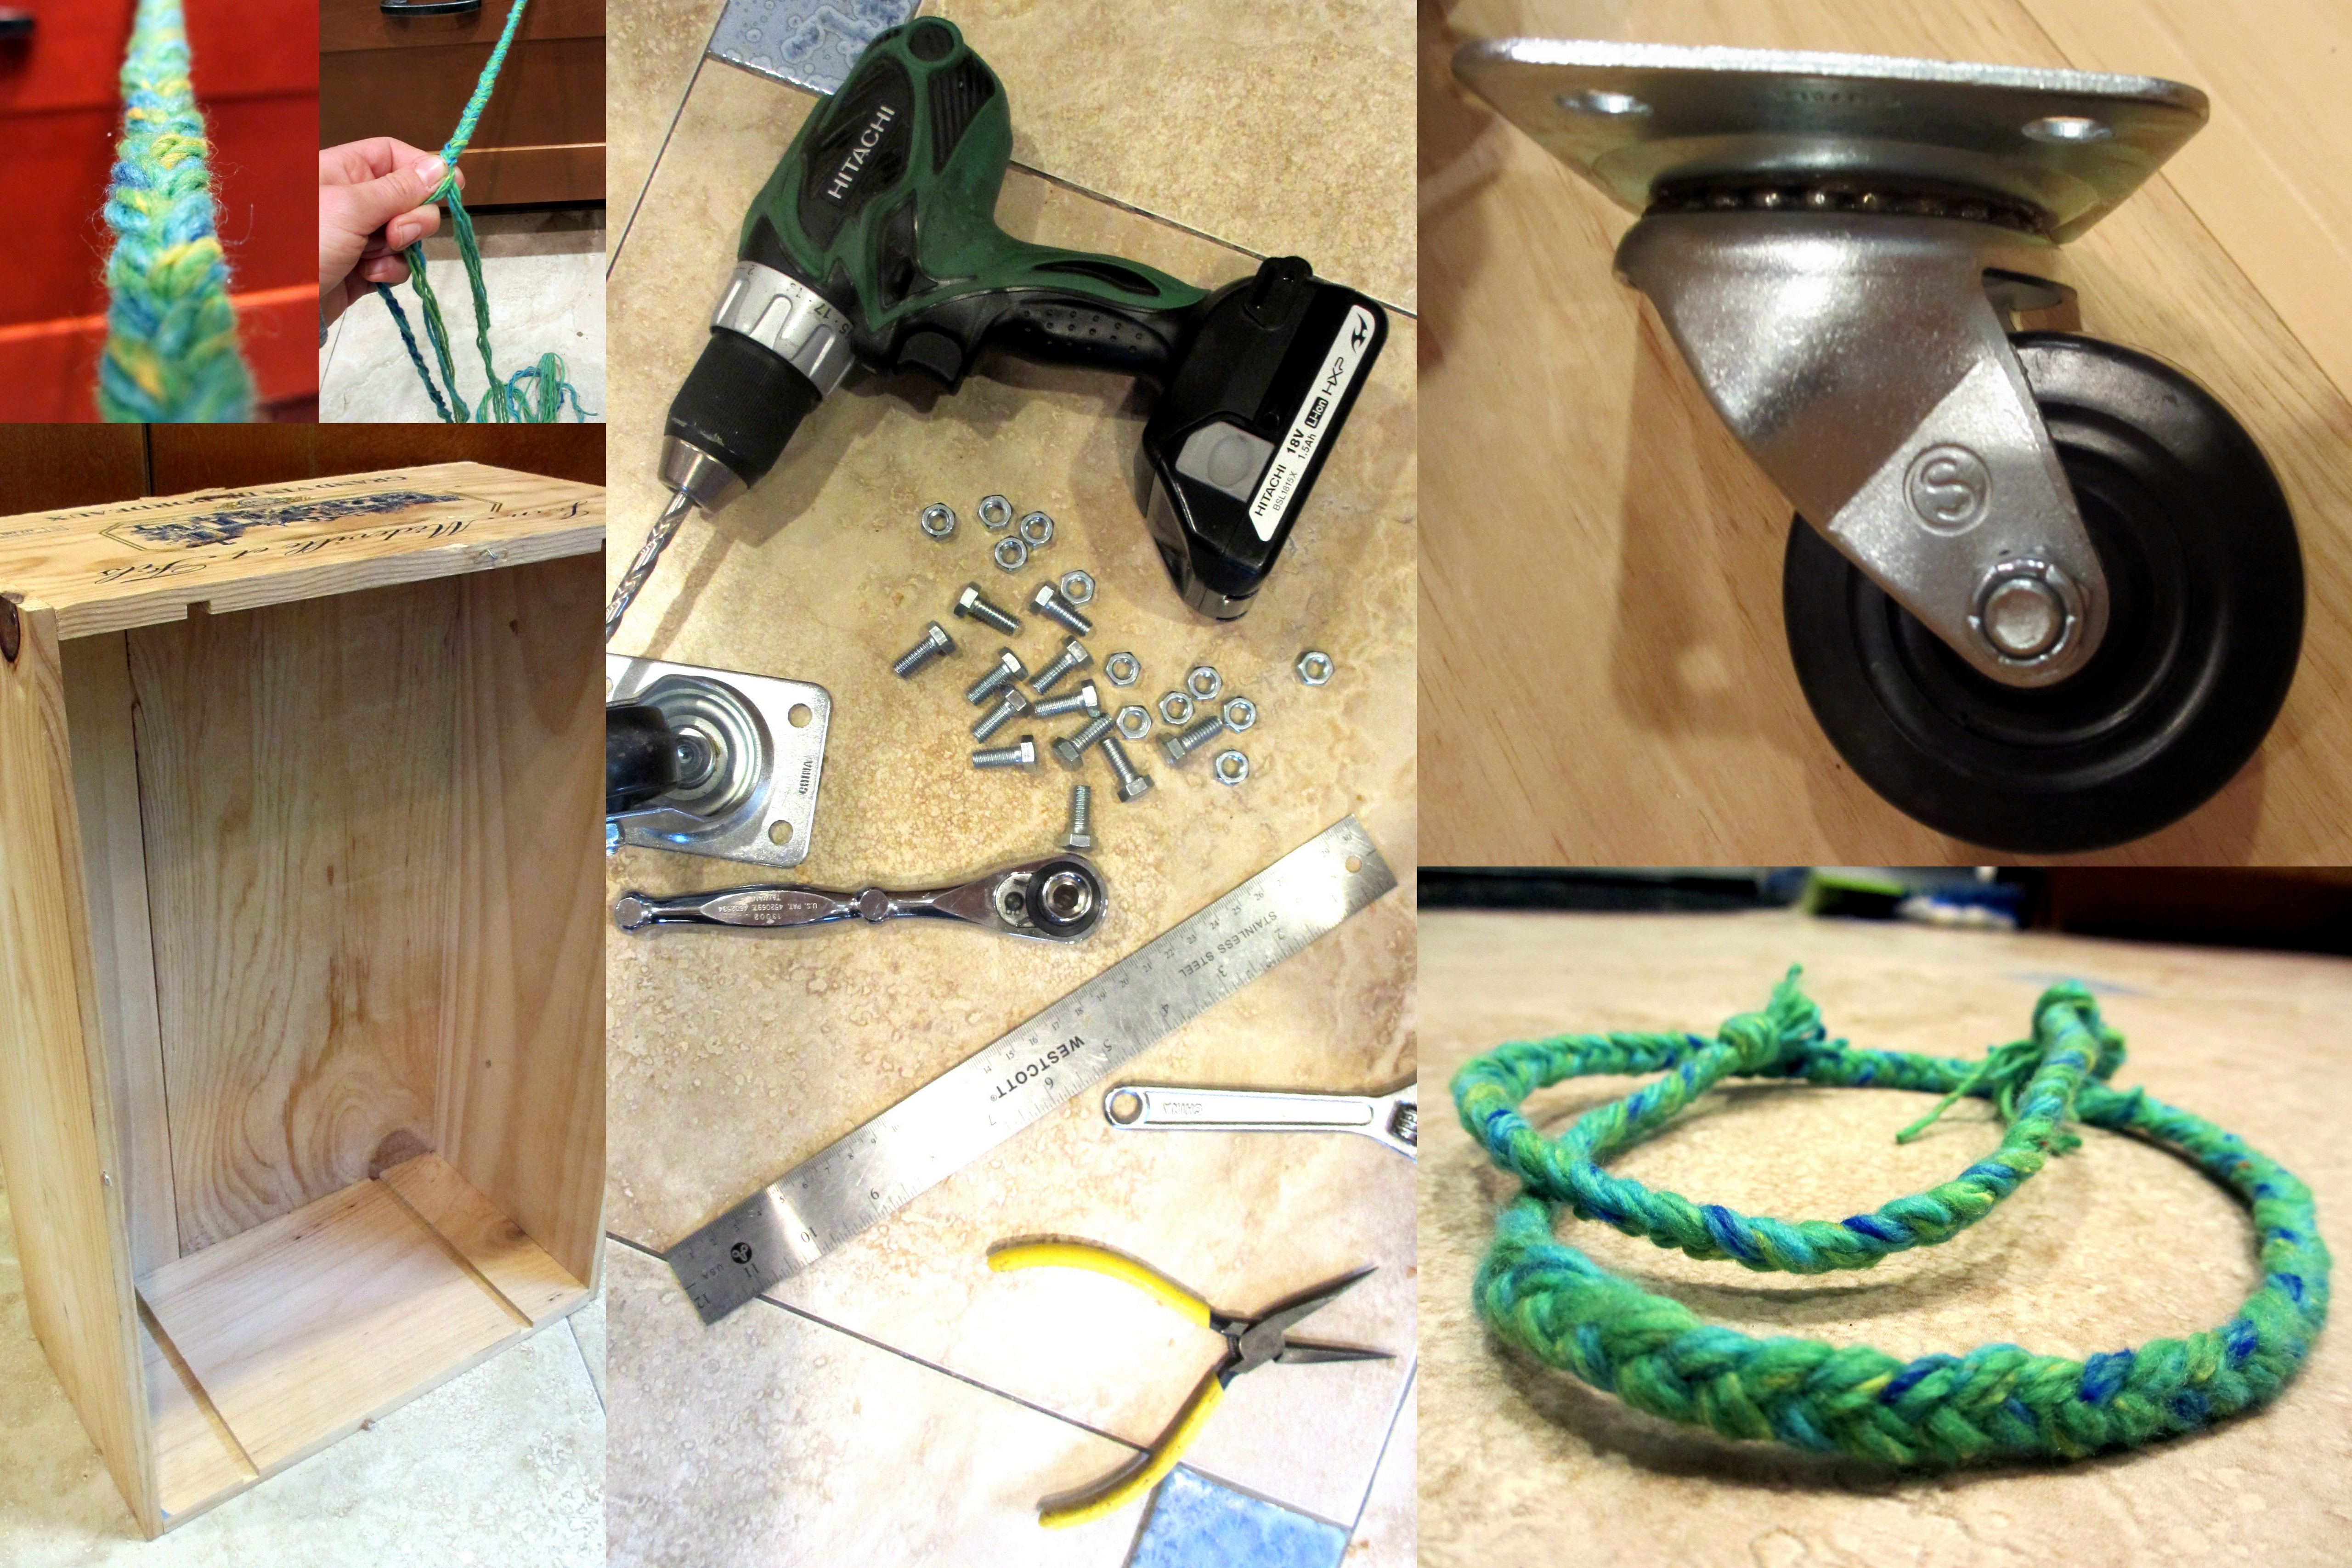
We gathered our supplies:
1. 1 wine crate (an unfinished wooden crate from Michael’s would do, as well, but you’ll want Home Depot to cut you a piece of 1/4-1/2″ wood to nail to the bottom for re-inforcement.
2. 4 wheels: I purchased the 2″, non-locking, 100lb, 360 degree rotating wheels, but there are many kinds to choose from. Just make sure it has a flat plate with 4 screw holes for assembly rather than a post. I purchased the larger wheels because we have carpet in the house and I wanted something that could handle it. I also have a big 7-year-old who I knew would want to play in the wagon, so I needed something that could handle her weight-wise! Each wheel cost about $5.
3. 16 bolts slightly smaller than the screw holes on the wheel plates. Buy the length that is short enough so that they will not get in the way of the rotation of the wheels, but long enough to leave a little extra after the bolt is on. My wheels and crate floor required 3/4″ 5/16 bolts. You don’t need the fancy ones for outdoors, get the cheapest ones! Mine cost $.24 nut and bolt.
4. 17 washers for the bolts and for the rope hole.
5. 16 nuts for the bolts.
6. 1 power drill
7. 1 power drill bit the same size as the bolts
8. 1 ratchet wrench and bit the same size as the nuts and bolts
9. 1 crescent wrench.
10. 1 ruler
11. 1 pencil
12. About a yard of soft, medium-gauge rope that will string through one of the washers. If you want something more exciting, you can braid about 15 strands of multi-colored yarn to length. You can skip the rope if you are concerned about strangulation. You will have a REALLY fun crate on wheels rather than a wagon. 🙂
This is how we put it together:
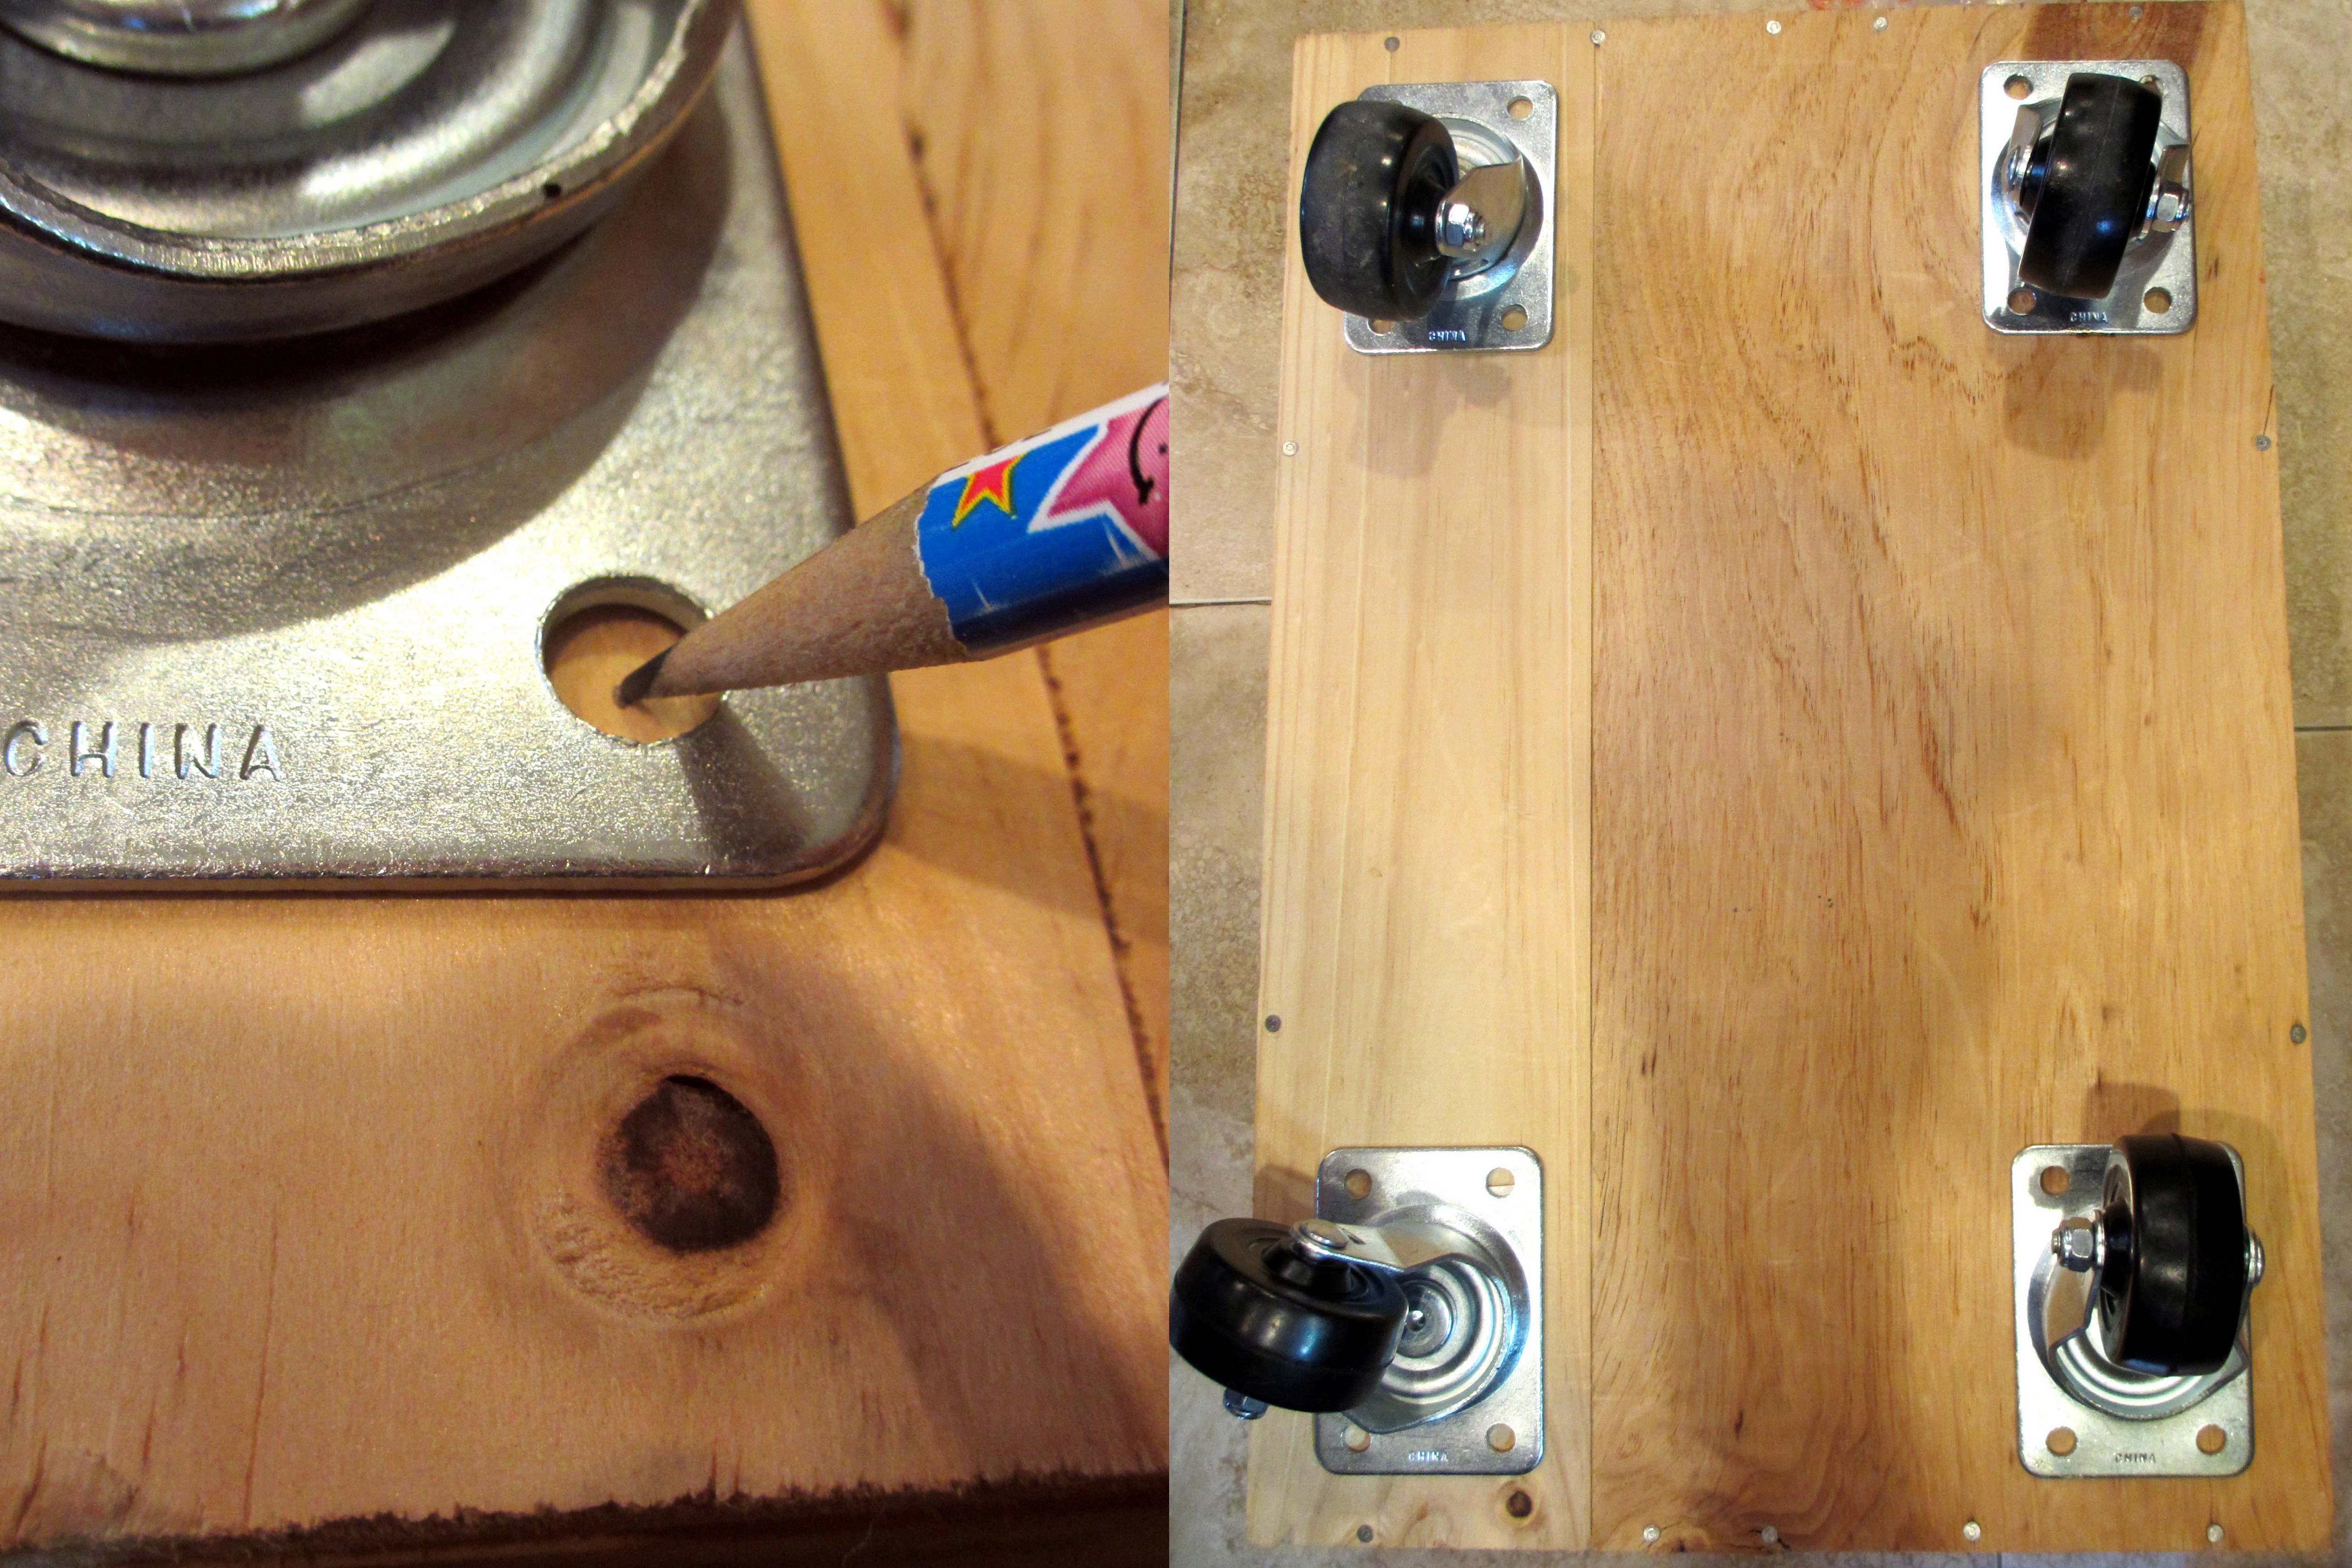
I wanted the kids to help as much as possible, so we first turned the crate over and marked the dots for our drill holes. I wanted to make sure we put the bolts far in enough it from the walls of the crate so we didn’t accidentally drill into the crate wall. We therefore measured each hole 1″ from the edge on each parallel side:
Then we marked the holes with a dot and pushed the pencil into the wood to create an indent. This will give the tip of the drill something to rest in so you’ll drill exactly in the right spot.
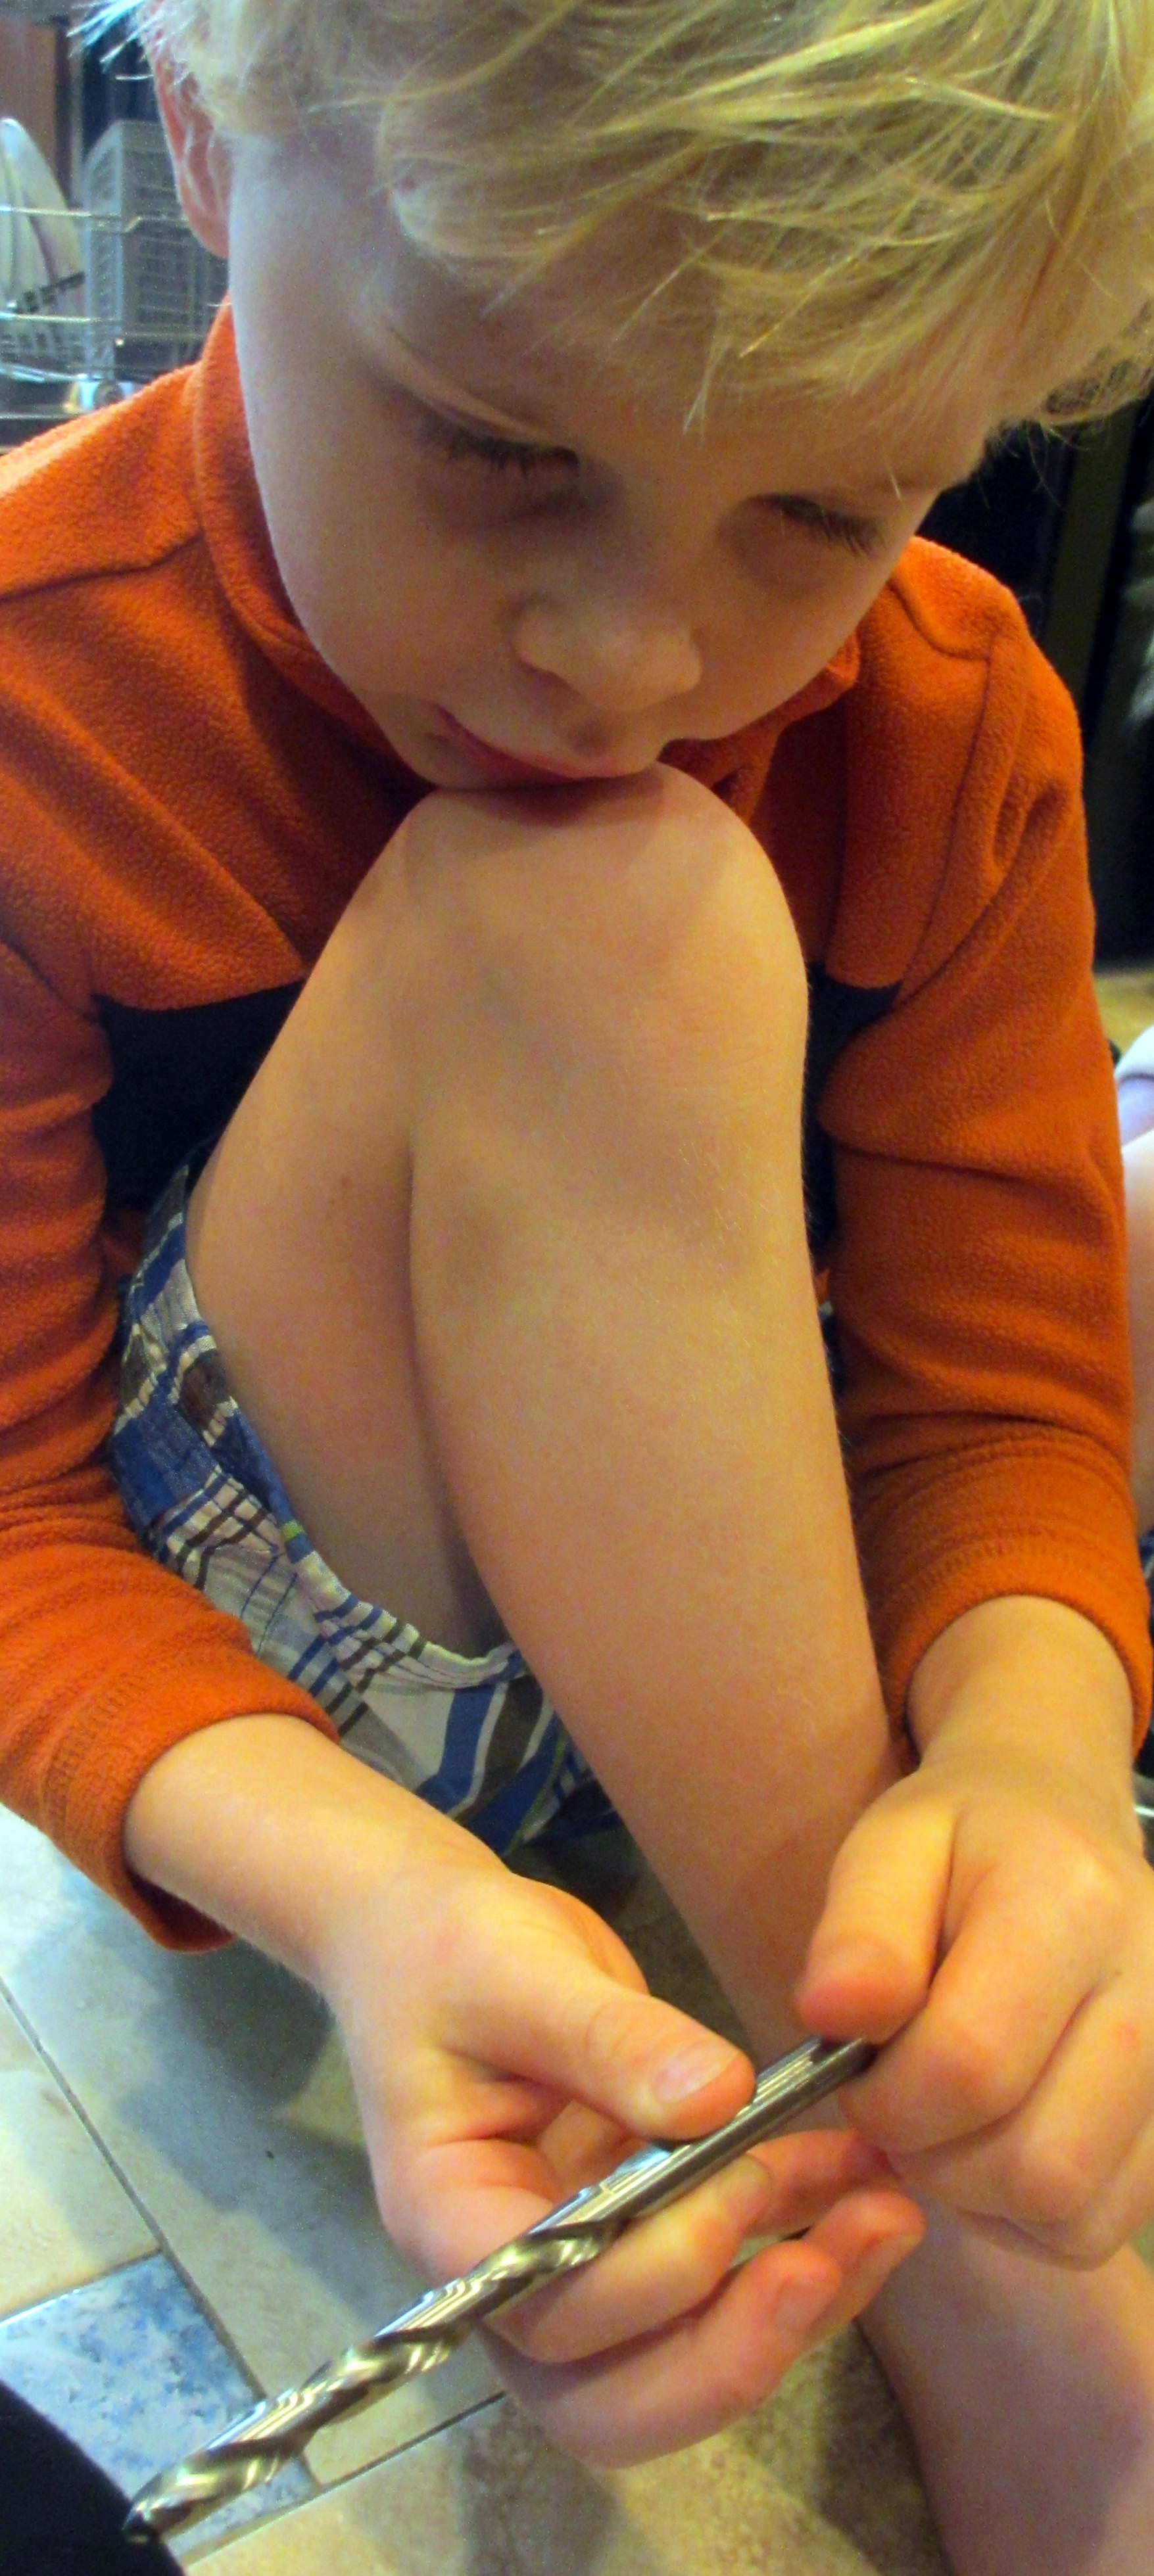
Next, we drilled. Begin at a slow speed so that you dig a divot with the drill before you increase your drill speed, or your drill may drift, resulting in an off-center bolt hole. The kids each pulled the drill trigger for a few holes and were able to figure out the drill speed, mastering the slow-to-fast method. I held the drill straight and stable for them. 🙂

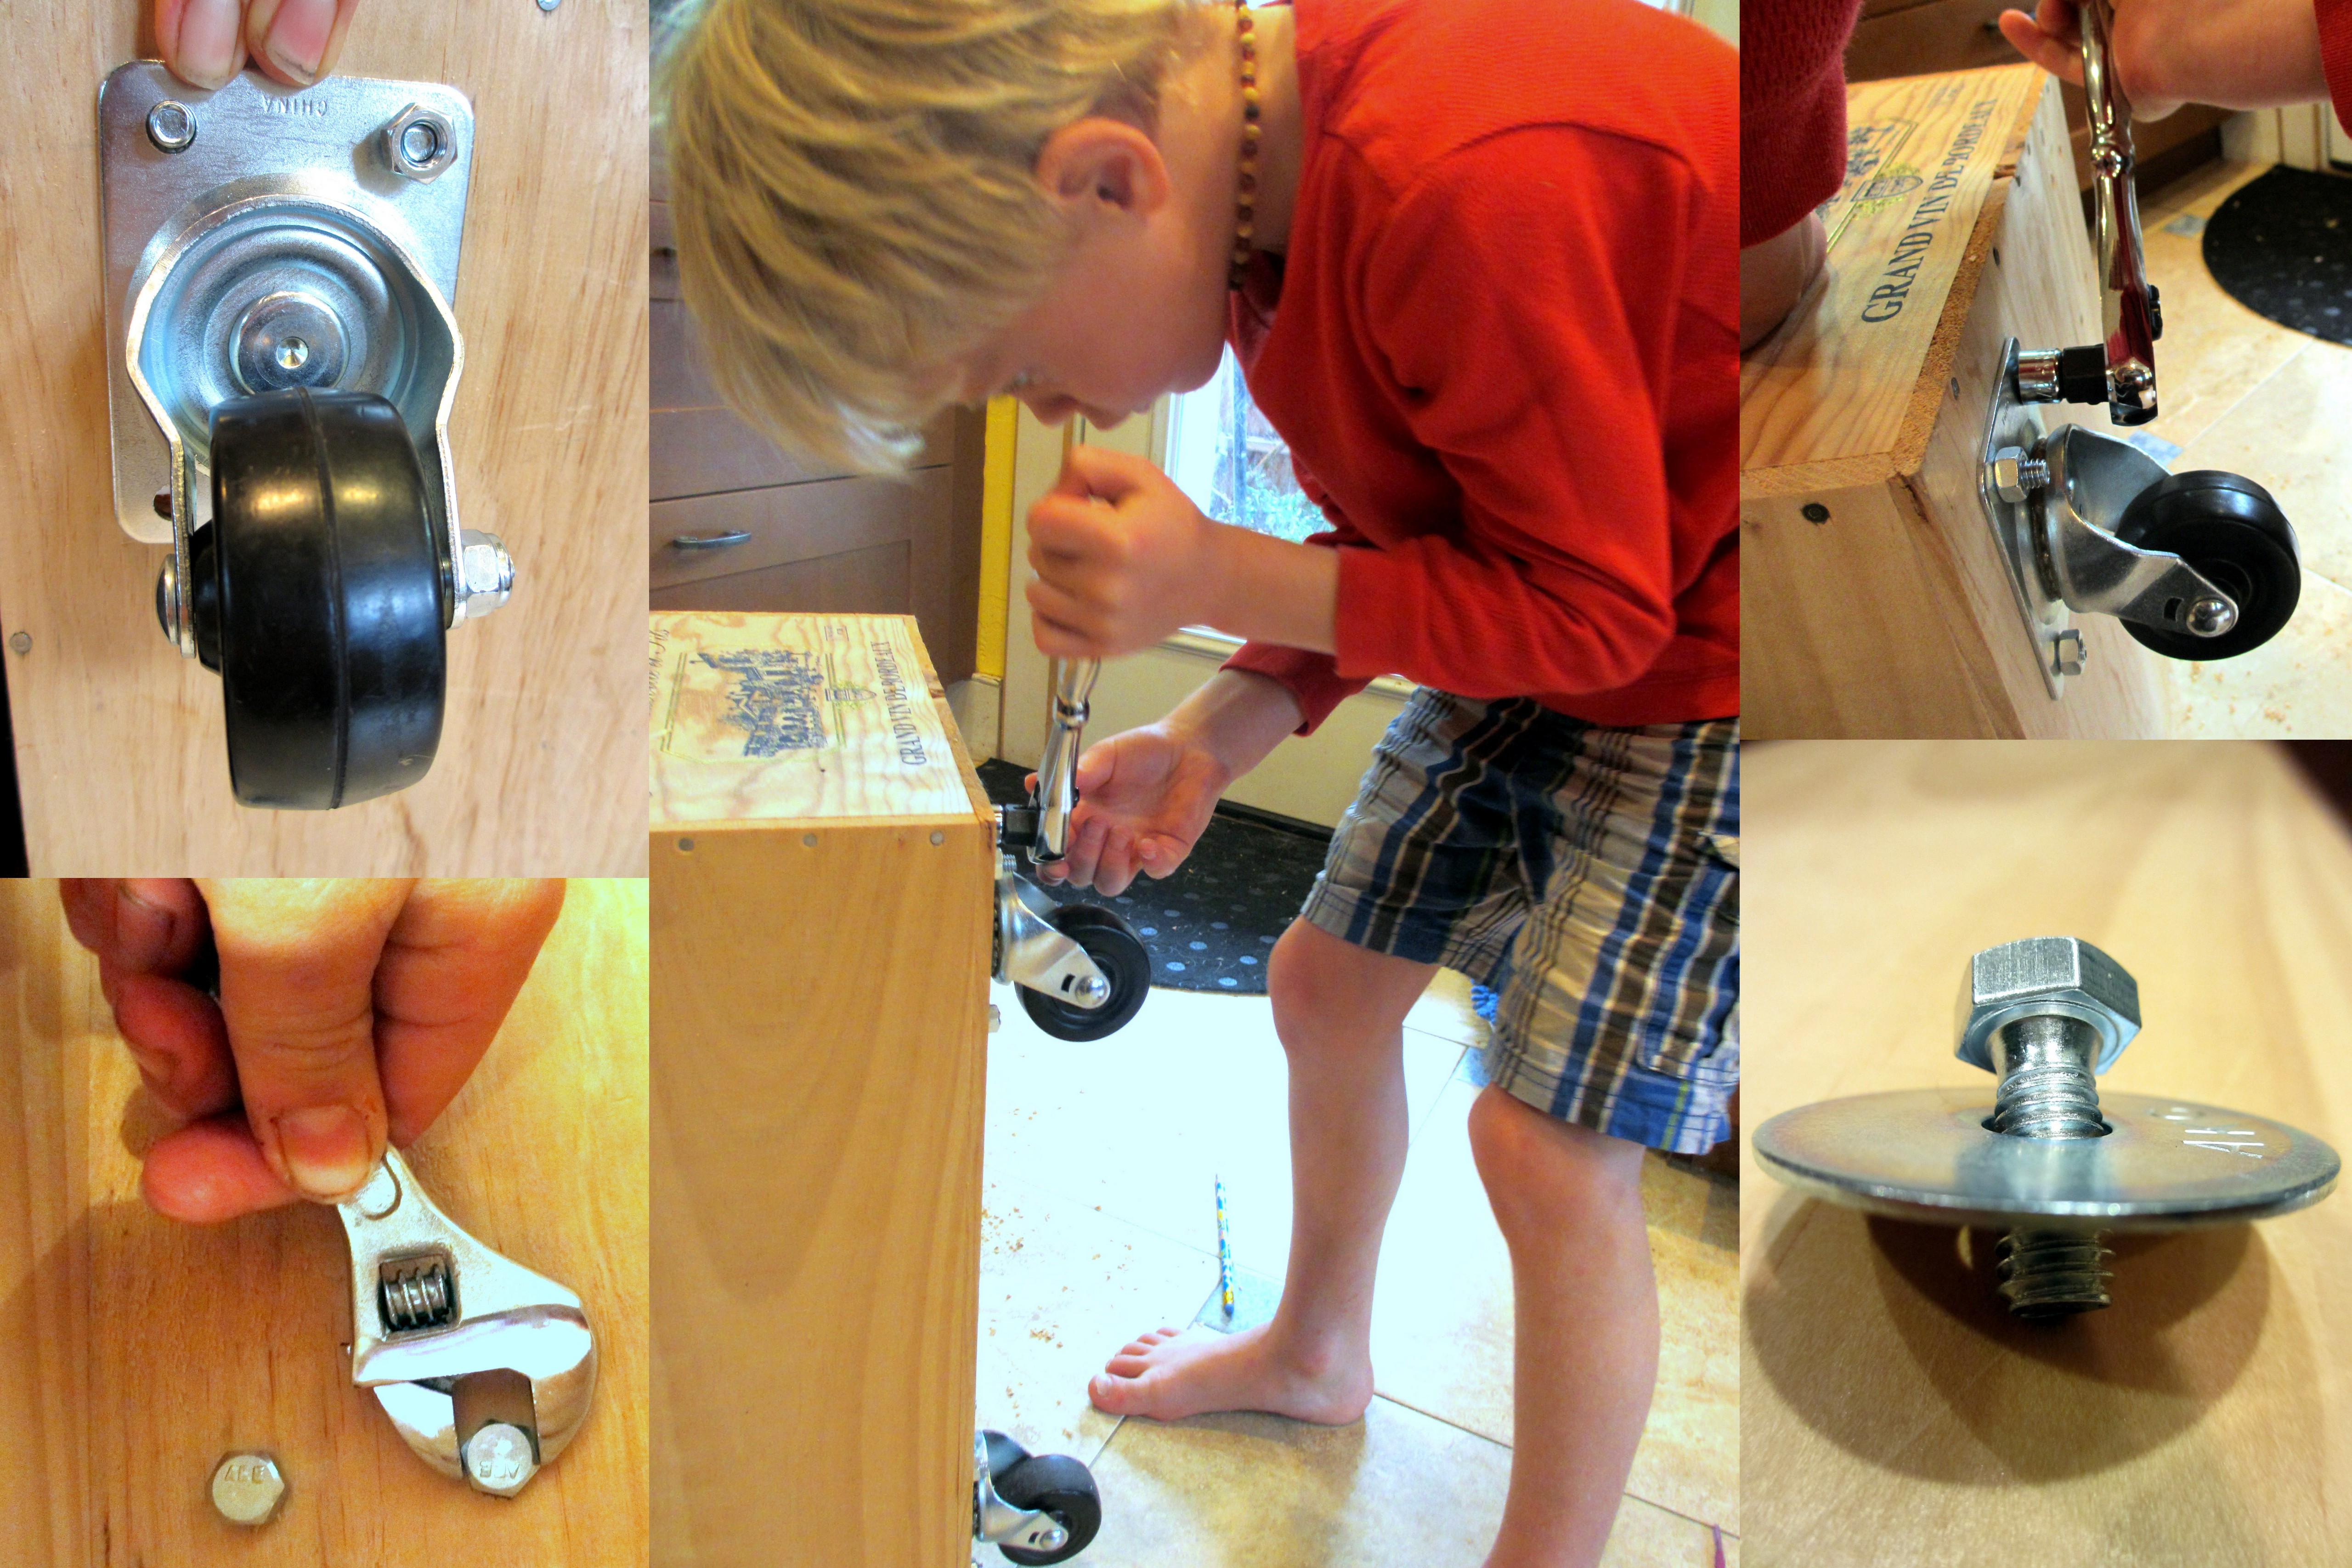
After your bolt holes have been drilled, turn your crate on it’s side and hold one wheel in place, bolt holes lined up with the ones you drilled into the bottom of the crate. Put a washer on each bolt and slide them, from the inside of the crate, into the bolt holes for one wheel. Place a washer on each bolt and finger tighten. The kids were able to do this step by themselves.
Using your ratchet wrench on one side and your crescent wrench on the other, tighten down the bolts. The bolts should be nice and snug, but not so tight that the washer warps or you hear wood crackle. One of my kids worked the ratchet on the nut while another held the bolt head with the crescent wrench on the other side. Repeat with each of the other 3 wheels.
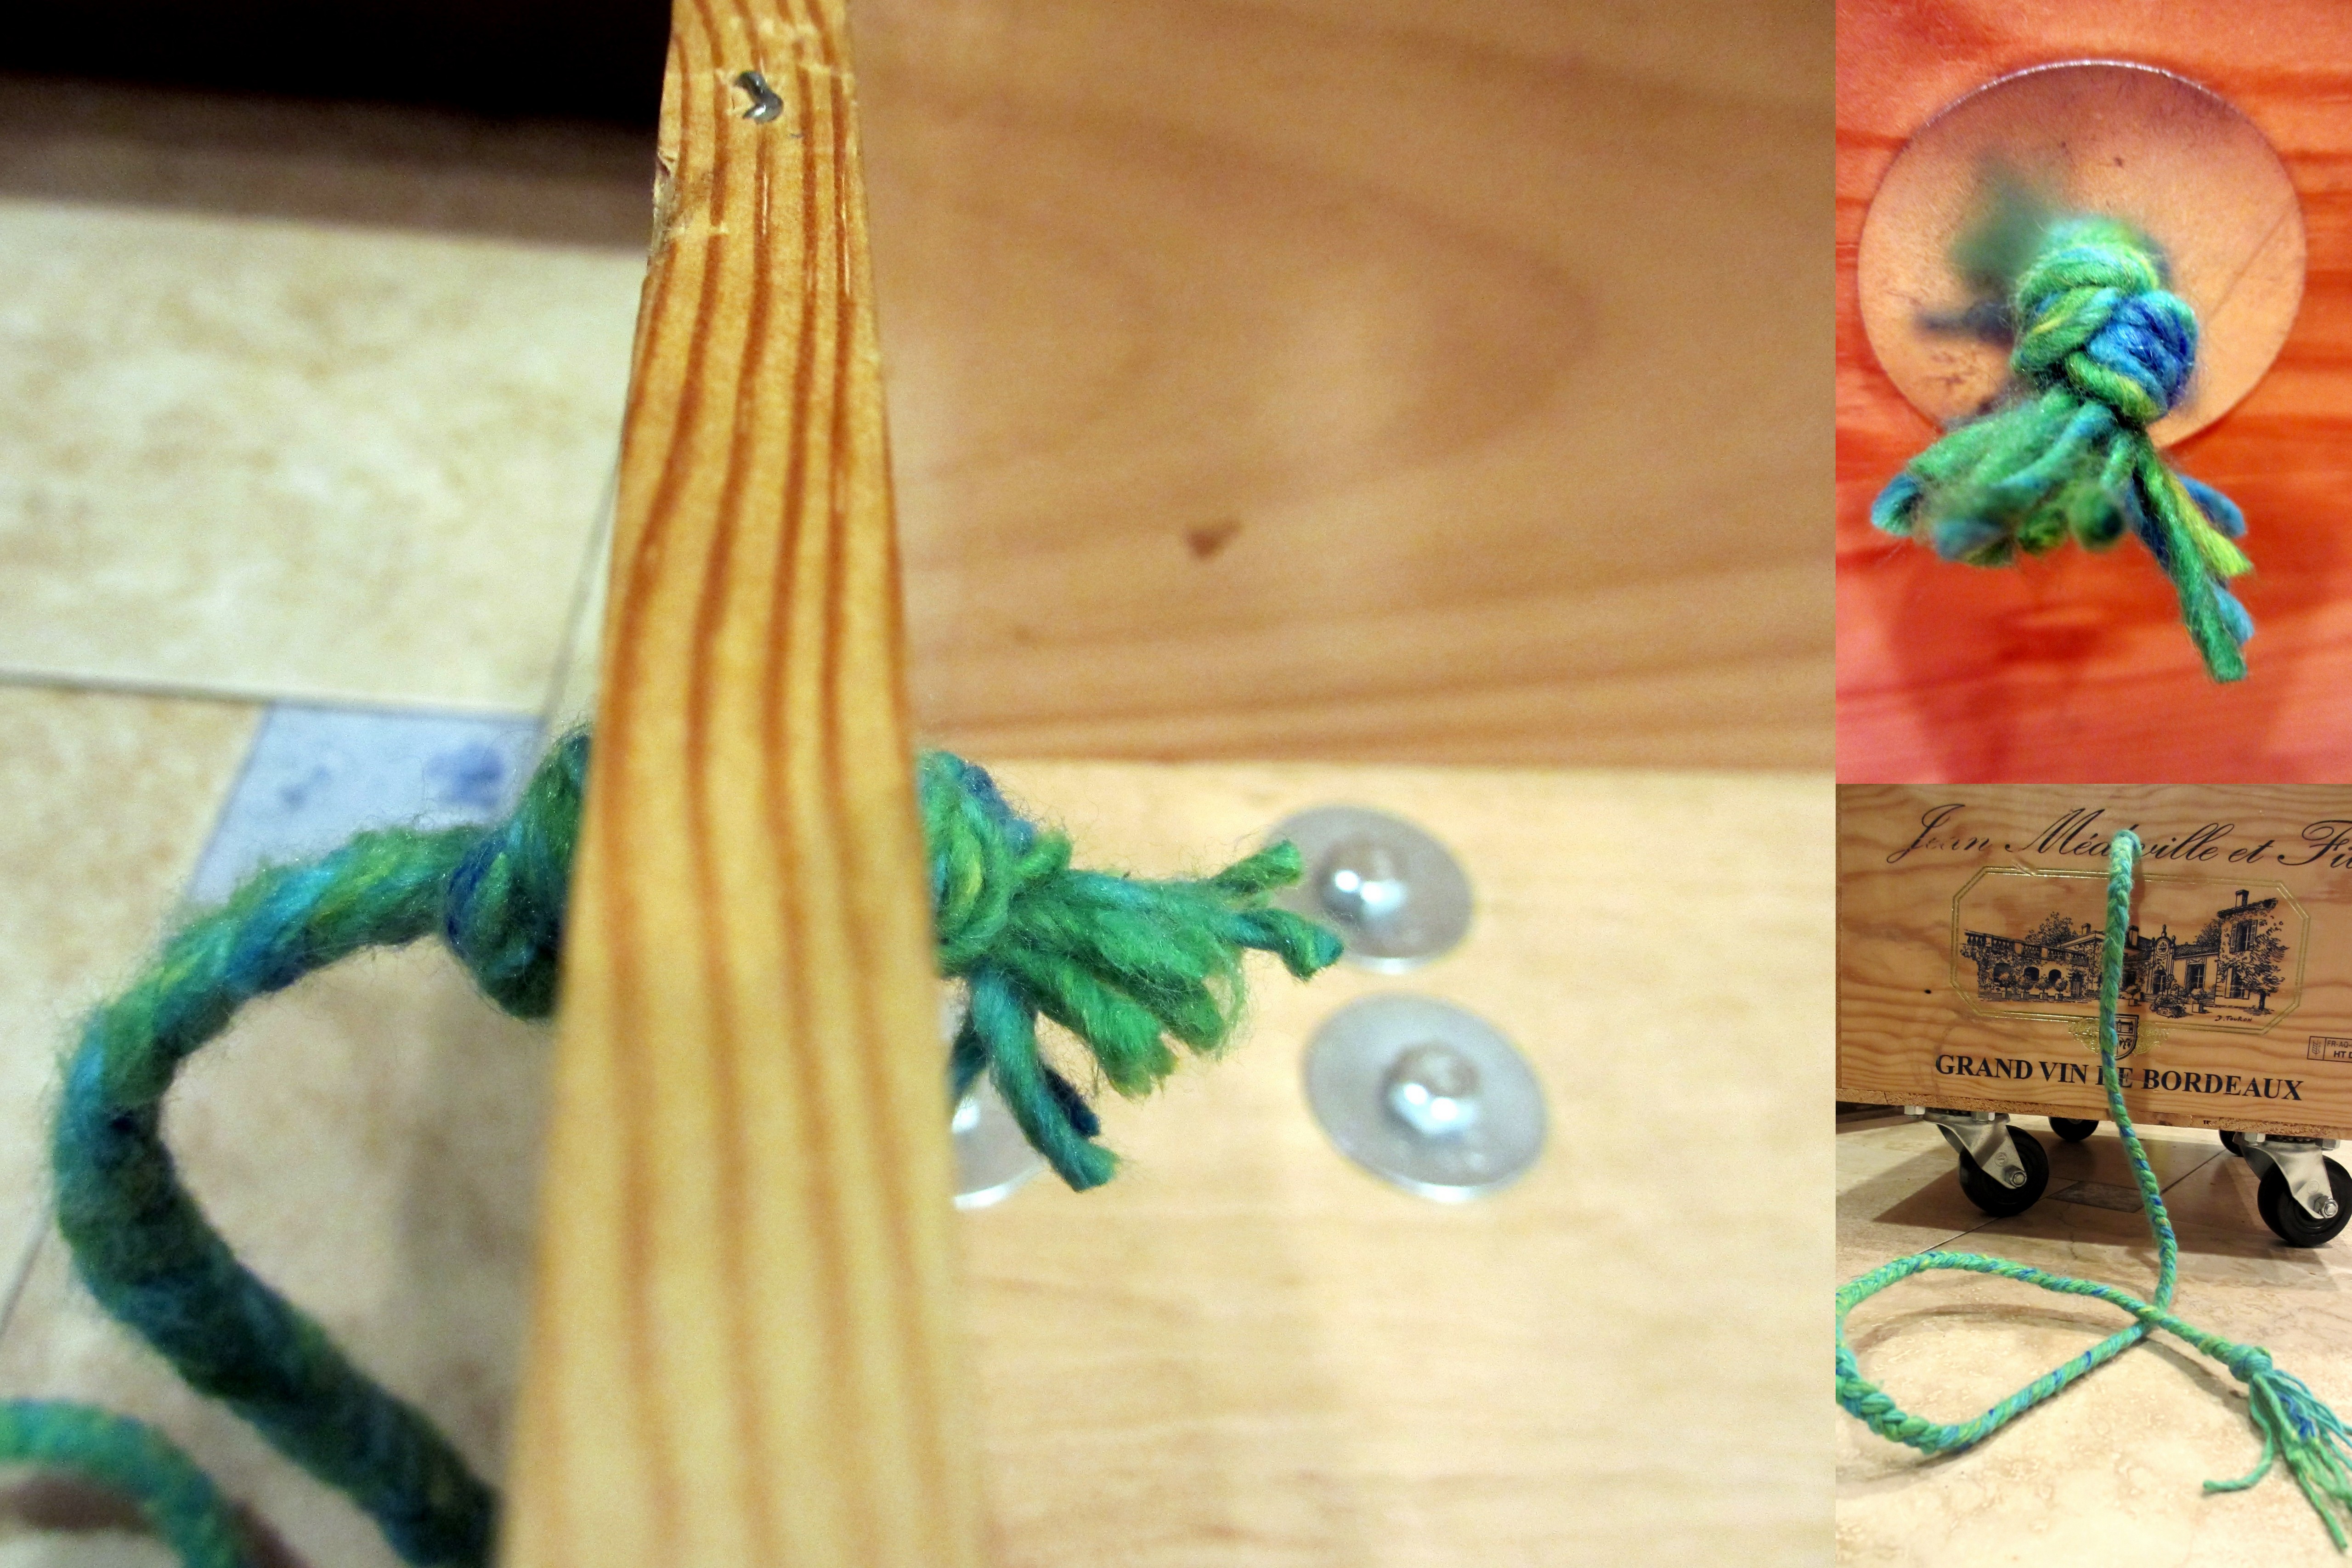
Drill a hole through the center of one of the narrow ends of the crate about 1″ down. String the last washer onto the the rope and tie a knot. Thread the rope through the hole you have just drilled such that the washer is on the inside of the crate. The washer is just a little extra insurance that as the wooden hole wears and becomes larger over time, the knot in the rope does not slip back through the hole. Tie another knot just on the outside of the crate so that the rope does not pull back into the crate. This will avoid friction that may weaken and break the rope. Tie a knot at the end of the rope farthest from the crate.
Last, put the baby into the wagon and watch him giggle and squeal as the other kids pull him around the house!
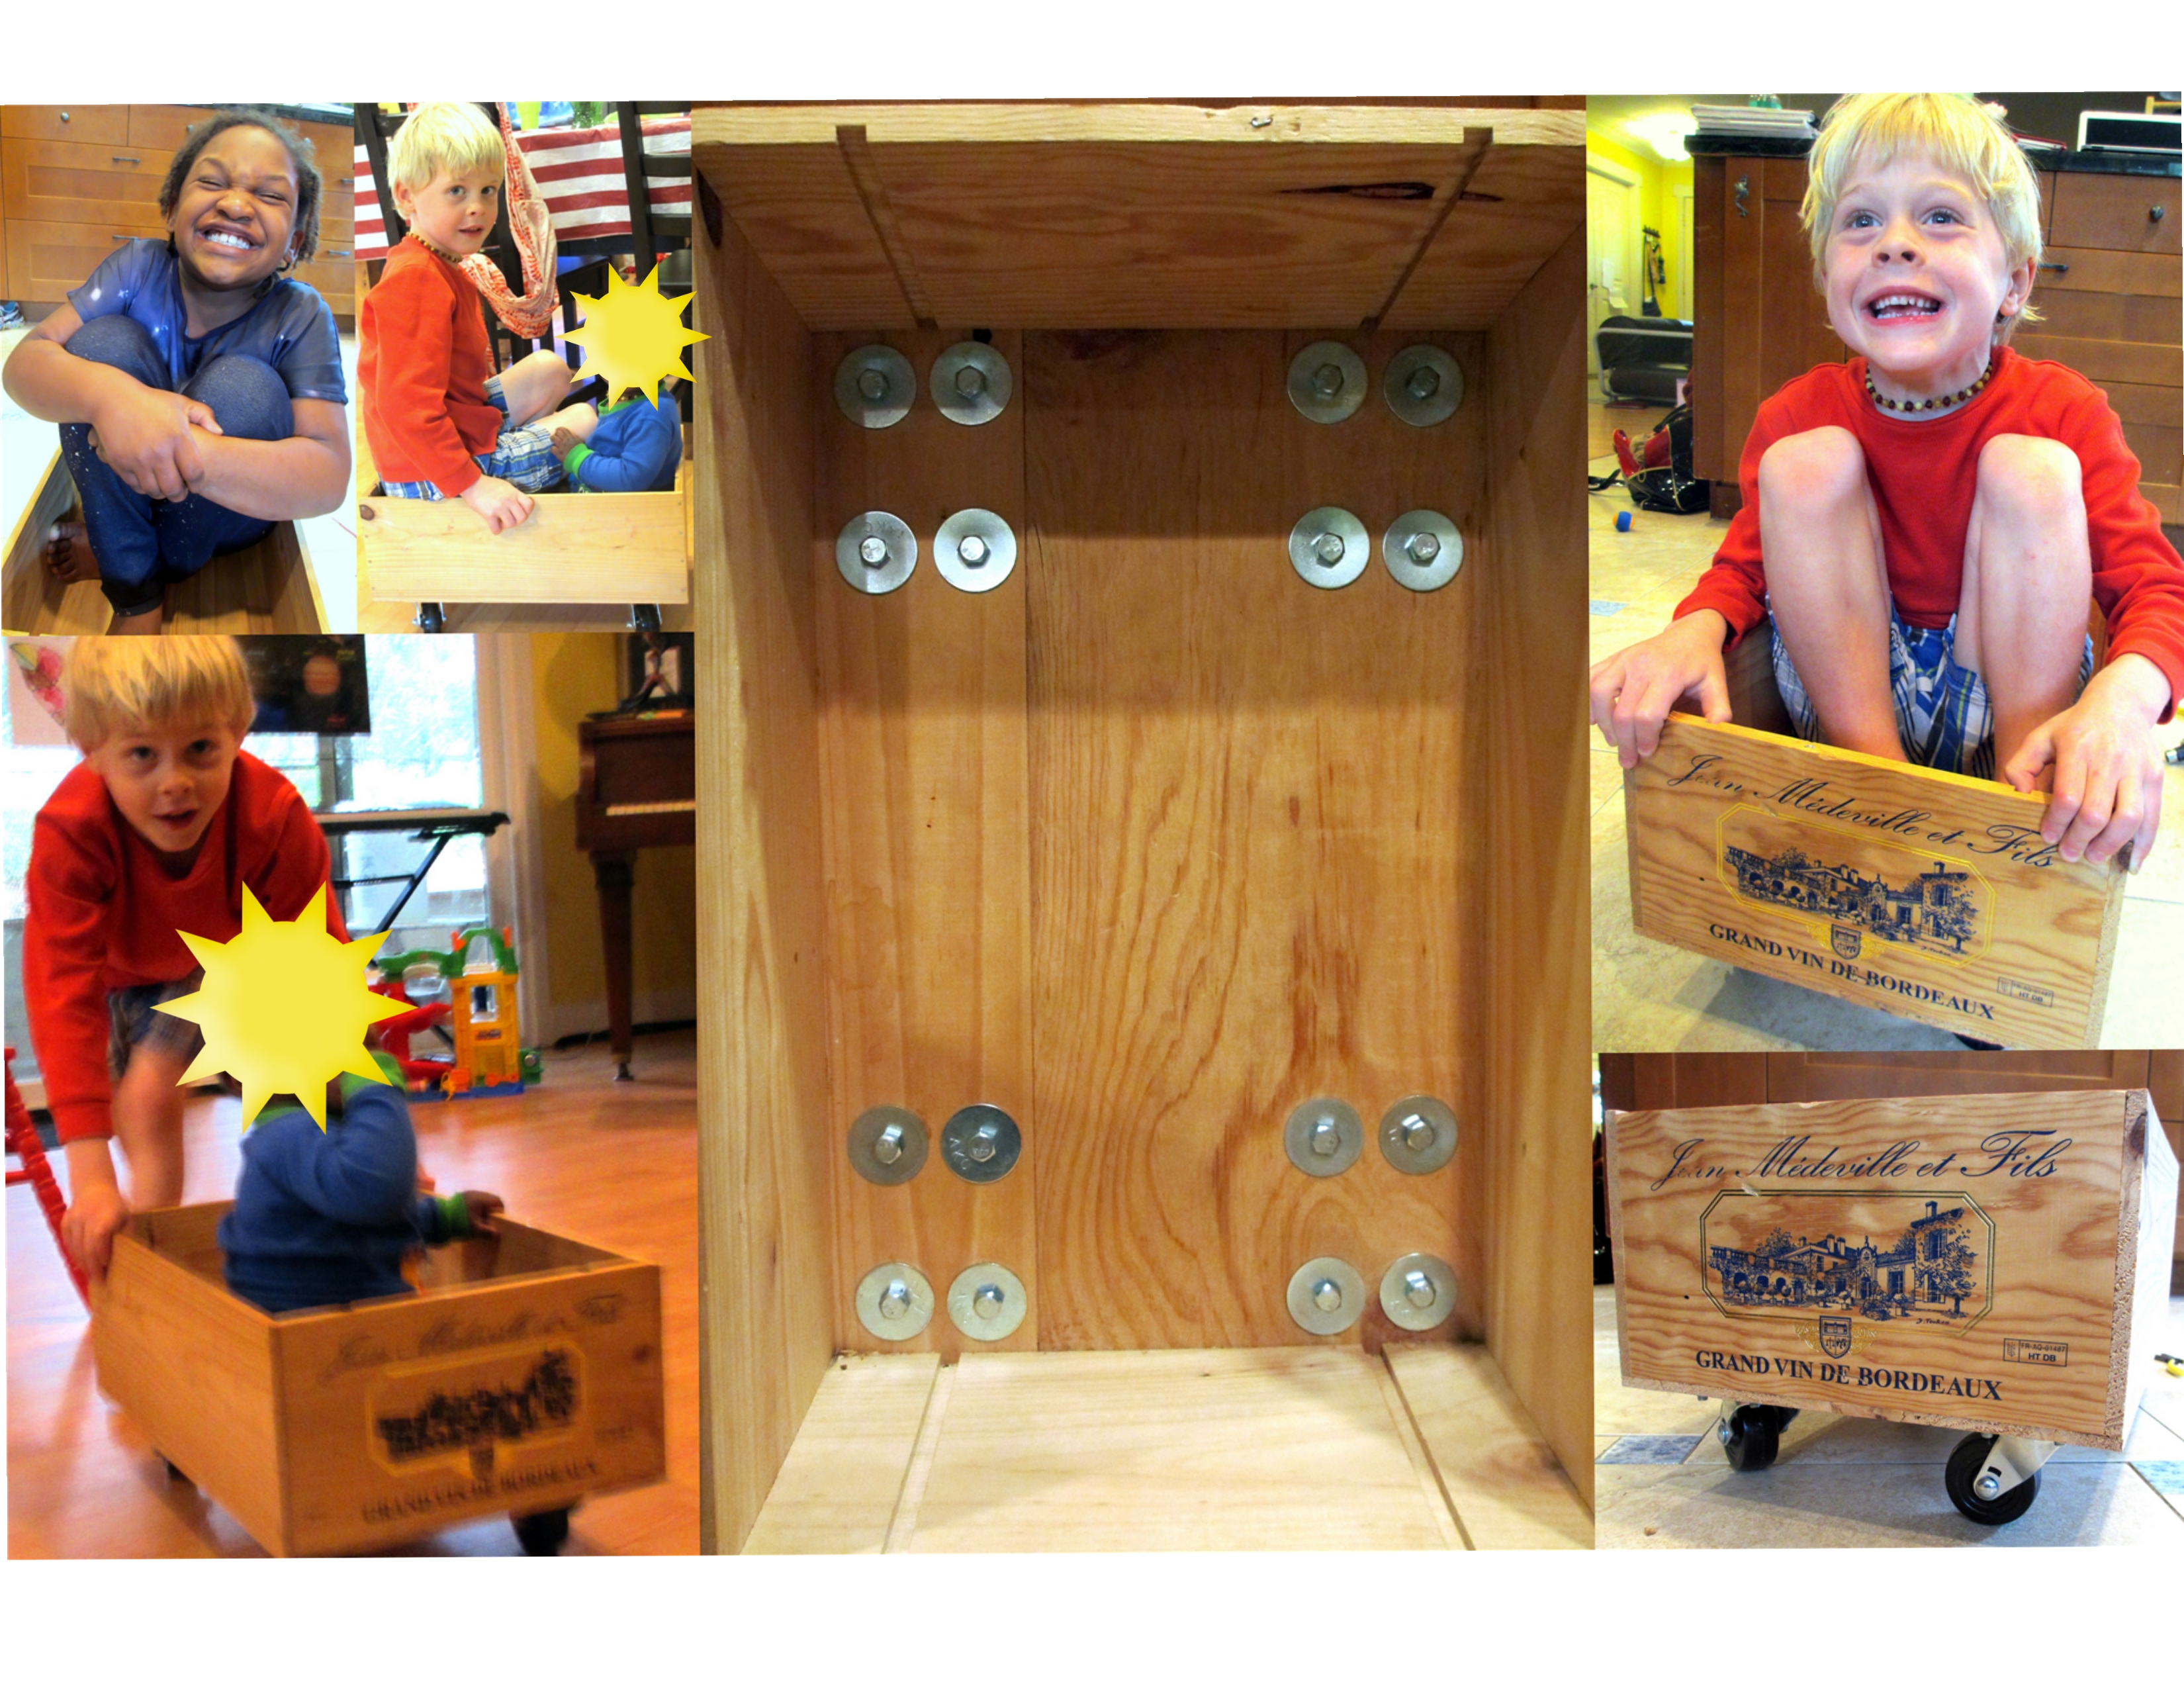 (Sorry about the sunshine face rather than an actual baby face. I can’t show him until his adoption papers are signed! 🙂 )
Recent Comments